
Taking your bicycle on your travels opens up a world of adventure, allowing you to explore new destinations on two wheels. The thought of navigating an airport with a bike, however, can feel daunting. Proper preparation is the key to a stress-free journey for both you and your ride.

This guide on how to pack bike for air travel simplifies the process, breaking down everything from airline rules to the final turn of the screw. By understanding how to pack your bike securely, you can ensure it arrives safely, ready for you to pedal through new landscapes and create lasting memories.
Know the Bike Laws Before You Travel
Before you even think about packing, it’s essential to research the cycling laws of your destination. Rules of the road can vary significantly from one country or even one state to another. For instance, some regions may have mandatory helmet laws, specific requirements for lights and reflectors, or designated lanes you must use.
Being unaware of these local regulations could lead to fines or, worse, compromise your safety. A quick search online for your destination’s “cycling laws” or “traffic rules for cyclists” will provide the necessary information to ensure you can ride confidently and legally upon arrival.
Airline Rules for Traveling
Every airline has its own set of policies for transporting sports equipment, and bicycles are no exception. These rules dictate the maximum weight, dimensions, and packing requirements for bike boxes or bags. Most carriers classify a bicycle as special baggage, which often incurs a specific fee that can range from a nominal amount to several hundred dollars each way.
Before booking your flight, visit the airline’s website and look for their “special baggage” or “sports equipment” section. Checking these details in advance helps you avoid surprise charges and ensures you have the right type of case or box that meets their specifications.
Packing Your Bike Properly
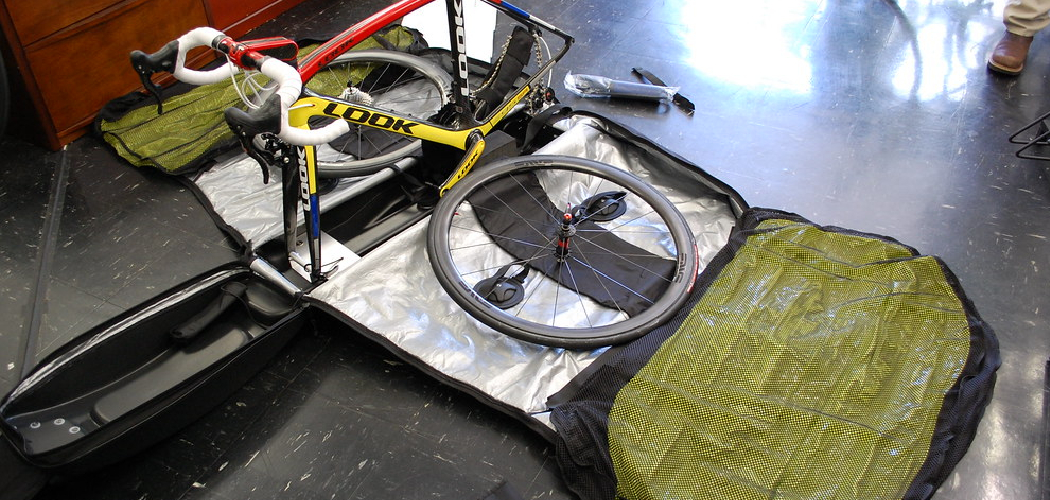
The most critical part of flying with your bike is packing it correctly. Your goal is to protect it from the rough handling it will inevitably experience during transit. A dedicated bike travel case—either a hardshell or a padded softshell bag—offers the best protection. Hardshell cases provide maximum security against impacts, while softshell bags are lighter and easier to store.
If you’re on a budget, a cardboard box from a local bike shop can also work, but it will require significant extra padding and reinforcement to provide adequate protection for your frame and components. Regardless of your choice, proper disassembly and securing of parts inside the container are paramount.
7 Simple Step-By-Step Guidelines on How to Pack Bike for Air Travel
Step 1: Gather Your Tools and Materials
Before you begin disassembling your bike, make sure you have all the necessary tools and packing materials laid out and ready to go. You will typically need a set of Allen (hex) keys, a pedal wrench, a torque wrench for reassembly, and possibly some Torx wrenches depending on your bike’s components. For packing materials, gather zip ties or velcro straps, foam pipe insulation or bubble wrap, a rag, and some extra cardboard pieces for added protection. It’s also wise to have a small parts bag or container to keep all the bolts and small components together so nothing gets lost in transit.
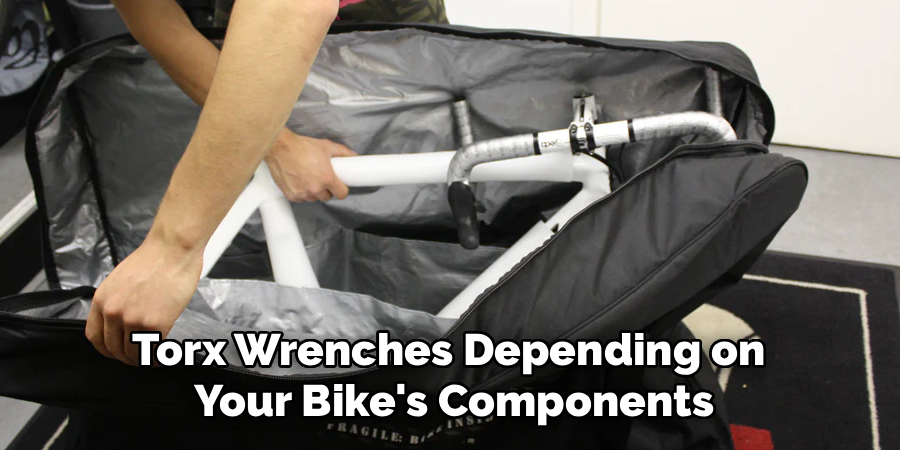
Having everything organized beforehand transforms the packing process from a frustrating puzzle into a systematic task. This preparation prevents you from having to stop midway to find a tool or more padding. Remember to pack the tools you will need for reassembly in your bike box as well, ensuring you can get your bike road-ready as soon as you arrive at your destination. Taking a few photos of your bike’s setup, particularly around the handlebars and saddle height, can also serve as a helpful reference when you put it all back together.
Step 2: Clean and Inspect Your Bike
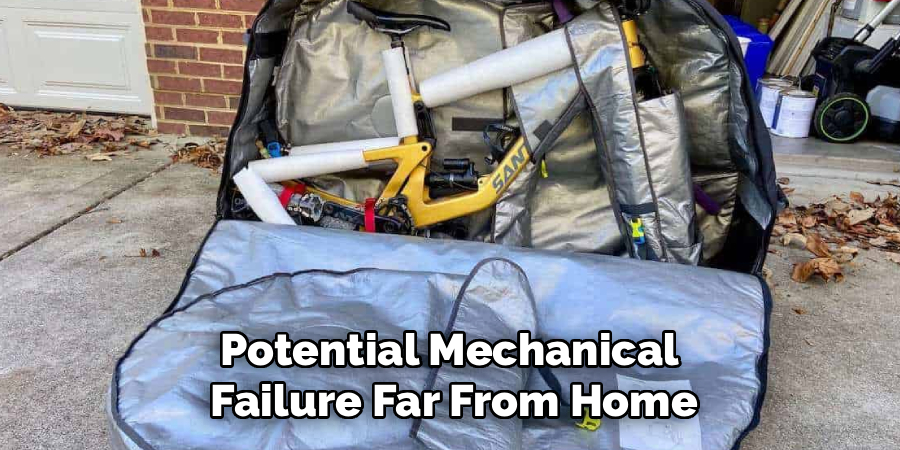
Giving your bike a thorough cleaning before you pack it is a crucial but often overlooked step. A clean bike is much easier and more pleasant to handle during disassembly. More importantly, it allows you to perform a detailed inspection of the frame and components. Look closely for any pre-existing damage, like cracks in the frame, dents, or worn-out parts. Discovering an issue now gives you time to get it repaired before your trip, preventing a potential mechanical failure far from home. Pay special attention to the frame, fork, wheels, and drivetrain.
This pre-travel inspection also serves as documentation. Take clear, well-lit photos of your bike from all angles after it’s clean but before you pack it. In the unfortunate event that your bike is damaged by the airline, these pictures will serve as undeniable proof of its condition before it was handed over. This evidence can be invaluable when filing a claim for repairs or replacement. Store these images on your phone or cloud storage for easy access.
Step 3: Remove Pedals, Seatpost, and Handlebars
Start the disassembly process by removing the parts that make the bike too wide or tall to fit in the box. First, take off the pedals. Remember that the left pedal has a reverse thread, so you’ll turn it clockwise to loosen it (righty-loosey), while the right pedal loosens counter-clockwise (lefty-loosey). A pedal wrench will give you the leverage needed to break them free. Next, lower your seatpost all the way down or remove it completely. If you remove it, be sure to wrap the post and saddle in bubble wrap to prevent scratching and mark your saddle height with a piece of electrical tape on the post for easy reassembly.
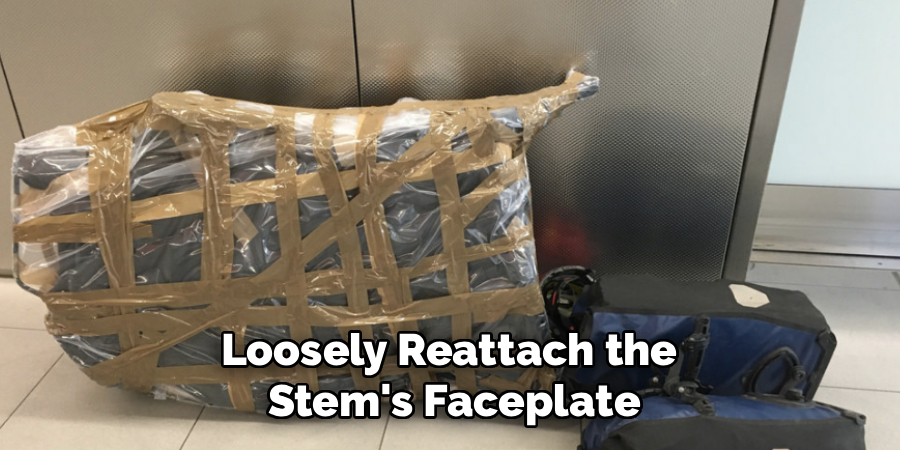
Next, you will need to address the handlebars. For most bikes, you won’t need to disconnect any brake or shifter cables. Simply unbolt the faceplate of the stem, which will allow you to remove the handlebars. Carefully rotate and secure them parallel to the top tube or fork using zip ties or straps. Make sure to place padding, like pipe insulation, between the handlebars and the frame to prevent any rubbing or impact damage. Loosely reattach the stem’s faceplate and bolts, so you don’t lose them.
Step 4: Detach the Rear Derailleur
The rear derailleur is one of the most vulnerable parts of your bike during shipping. Its exposed position and delicate alignment make it highly susceptible to being bent or broken if the box takes an impact. To protect it, you should remove it from the derailleur hanger. Use an Allen key to undo the single bolt that attaches it to the frame. There is no need to break the chain or disconnect the shifter cable; you can leave the derailleur attached to both.
Once it’s detached, wrap the entire derailleur generously in bubble wrap or a thick rag to cushion it from any potential blows. Carefully tuck it inside the rear triangle of the frame, between the chainstays and seatstays, and secure it in place with zip ties. This position keeps it shielded by the frame itself, significantly reducing the risk of damage. It’s a simple, five-minute step that can save you from a costly repair and a ruined cycling trip.
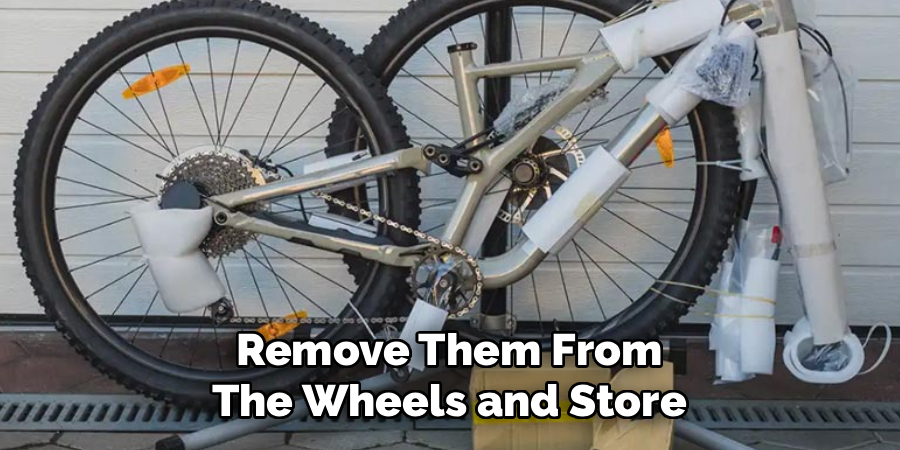
Step 5: Remove the Wheels and Prepare the Frame
With the main components removed, it’s time to take off the wheels. If your bike has disc brakes, it is absolutely essential to place a brake pad spacer or a piece of folded cardboard into each caliper after you remove the wheels. This prevents the brake pistons from closing if the brake levers are accidentally squeezed during transit, which would make it impossible to reinstall the wheels without bleeding the brakes. If you have quick-release skewers, remove them from the wheels and store them in your parts bag. For thru-axles, you can either remove them or reinstall them in the frame and fork to add rigidity.
Before placing the frame in the box, add protective padding to all the tubes. Foam pipe insulation is perfect for this task; simply cut it to length and slip it over the top tube, down tube, and seat tube. Use extra bubble wrap or foam around the fork and rear dropouts. This comprehensive padding is your primary defense against scratches, dings, and other cosmetic damage. It’s better to use too much padding than not enough.
Step 6: Strategically Place Everything in the Box
Now it’s time to carefully place everything into the bike box or bag. Start with the frame. It should sit securely in the bottom of the box, often in a designated cutout or harness system if you’re using a high-end case. Once the frame is in position, begin placing the other components around it. The wheels typically go on either side of the frame, often in separate padded wheel bags. Ensure that the hubs and cassette are not pressing directly against the frame; use additional cardboard or foam as a barrier.
Place your wrapped handlebars, seatpost, and pedals in the remaining spaces. The goal is to pack everything tightly so nothing can shift or rattle around during transit. Use your extra clothing, towels, or more bubble wrap to fill any gaps. A tightly packed box is a safe box. Distribute the weight as evenly as possible. Before sealing the box, give it a gentle shake to check for any movement. If you hear parts shifting, open it back up and add more padding until everything is snug and secure.
Step 7: Seal and Label the Box Clearly
The final step is to securely seal and clearly label your bike box. Use high-quality packing tape to seal all seams and openings on the box, reinforcing the corners and handles. If you are using a cardboard box, you may want to wrap tape all the way around the box in several places for added strength. Make sure the box is sealed well enough to withstand moisture and rough handling. Don’t forget to pack your reassembly tools, a pump, and any other cycling gear like your helmet and shoes inside the box, as long as you stay within the airline’s weight limit.
Use a permanent marker to write your name, contact phone number, and destination address directly on the outside of the box in large, clear letters. It’s also a good idea to add “Fragile” and “This Side Up” with arrows on multiple sides. While baggage handlers may not always follow these instructions, it increases the chance of your bike being treated with a bit more care. Attaching a luggage tag with the same information is another layer of security in case the markings on the box get scuffed off.
Following these steps on how to pack bike for air travel will ensure that your bike arrives at its destination safely and in one piece. However, it’s also important to be prepared for any unexpected situations that may arise during your flight.
Tips for Flying with Bikes
Check Airline Policies:
Different airlines have varying regulations and fees for transporting bikes. Research these policies beforehand to avoid surprises at the airport. Some airlines may require advanced booking for oversized items like bikes.
Invest in a Quality Bike Bag or Box:
A durable bike case or properly padded cardboard box can make a significant difference in protecting your bike during transit. Look for options with additional cushioning and secure fastening systems.
Disassemble Your Bike Properly:
Remove pedals, wheels, and handlebars to make the bike more compact and less prone to damage. Use protective padding and zip ties to secure all components inside the bike case or box.
Label Your Bike Case Clearly:
Ensure your bike case is marked with your name, phone number, and destination address. Brightly colored labels or tags can also help identify your case more easily on luggage belts.
Carry Essential Tools and Spares:
Pack basic tools, such as a multi-tool and tire levers, in your carry-on or bike case. Having spare tubes and patch kits can save you from unexpected delays or mechanical issues upon arrival.
Arrive Early for Check-In:
Oversized items like bikes may require additional check-in procedures. Arriving at the airport early gives you enough time to handle any extra processing while reducing stress.
Inspect Your Bike After Arrival:
Once you’ve reached your destination, carefully unpack and inspect your bike for any damage. If you notice any issues, report them to the airline immediately to file a claim.
By following these tips, you can help ensure that your bike remains safe and intact throughout your travels, giving you more time and energy to enjoy the ride ahead.
What NOT to Do?
- Don’t pack CO2 cartridges in the box; they are prohibited on aircraft.
- Don’t assume your bike will be handled gently; pack for the worst-case scenario.
- Don’t leave loose parts rattling around in the box.
- Don’t forget to deflate your tires slightly to account for air pressure changes.
- Don’t wait until the last minute to check airline policies and pack.
Environmental and Ethical Considerations
Flying with a bicycle does carry an environmental footprint due to the added weight and space it occupies on an aircraft. To travel more responsibly, consider alternatives when possible, such as renting a high-quality bike at your destination. If you must fly with your bike, choose airlines with more modern, fuel-efficient fleets.
Once you arrive, embrace sustainable practices by supporting local bike shops for any needs, respecting local trails and ecosystems, and using your bike as your primary mode of transport to minimize your carbon impact during your stay.
Frequently Asked Questions
Q1: How Do I Choose the Right Bike Box?
A1: Your choice depends on your budget, frequency of travel, and the level of protection you desire. Hardshell cases offer the best protection against impacts but are heavy and expensive. Padded softshell bags are a great middle ground, offering good protection while being lighter and easier to store. Cardboard boxes are the cheapest option but require extensive extra padding and are less durable, often lasting for only one round trip.
Q2: Can I Pack Other Gear in My Bike Box?
A2: Yes, most airlines allow you to pack other items in your bike box as long as you do not exceed the weight limit. This is a great way to save on checked baggage fees. You can pack your helmet, shoes, cycling clothes, and tools. Using your gear as extra padding is a smart strategy, but ensure everything is packed tightly to prevent movement and potential damage.
Q3: What If My Bike Is Damaged by the Airline?
A3: If your bike arrives damaged, you must report it to the airline’s baggage service office immediately, before leaving the airport. They will ask you to fill out a damage report form. This is where your pre-travel photos become crucial as proof of the bike’s initial condition. Take detailed photos of the damage and the box itself. Follow up with the airline’s customer service department persistently to process your claim.
Conclusion
Traveling with your bike doesn’t have to be a source of anxiety. With careful planning and meticulous packing, you can confidently check in your prized possession, knowing it’s well-protected for the journey ahead.
By understanding airline rules, investing in proper packing materials, and following a systematic approach, you ensure your bike arrives ready for adventure. Now, all that’s left is to enjoy the ride and explore the world from the best seat in the house—your own saddle. Thanks for reading this guide on how to pack bike for air travel.