

Traveling often means long hours spent sitting in uncomfortable seats, which can wreak havoc on your neck and shoulders. A good travel pillow provides crucial support to keep your head aligned, preventing stiffness and helping you arrive at your destination feeling rested.
Instead of settling for expensive, generic options at the airport, making your own pillow allows you to customize the firmness and fabric to your exact preferences. With just a few basic materials and some simple sewing skills, you can create a personalized travel companion that fits your unique travel style perfectly. In this guide on how to make neck pillow for travel, we’ll go through the steps to create your own custom-made pillow.
Types of DIY Neck Pillows You Can Make
When you decide to embark on the journey of creating your own travel accessories, you aren’t limited to the standard U-shape you see at every airport kiosk. The beauty of DIY lies in the variety of designs available to suit different sleeping styles. The most classic option is the Standard U-Shaped Pillow, which wraps around the back of your neck and provides support on the sides.
This is generally the easiest to sew and is great for beginners. However, you might also consider the Bone-Shaped Pillow. This design is narrower in the middle and wider at the ends, fitting snugly behind the neck or even the lower back for lumbar support.
For travelers who tend to lean forward or to the side, a Wrap-Around Scarf Pillow might be the best choice. This type involves a hidden internal support structure wrapped in soft fleece, looking like a scarf but acting like a pillow.
Another popular DIY option is the Drawstring Cylinder Pillow, which is essentially a stuffed tube with strings to tie the ends together, forming a loop. This is incredibly versatile as it can be used for neck support, leg elevation, or even as a bolster. Finally, for the kids, Animal-Themed Neck Pillows add a fun twist to the standard U-shape by adding ears, tails, or faces, making the travel gear part of the entertainment.
Materials You’ll Need
- Fabric (preferably a soft, durable material like fleece or cotton)
- Sewing machine OR needle and thread
- Scissors
- Measuring tape or ruler
- Pillow stuffing or filling of your choice (polyester fiberfill, foam beads, etc.)
- Optional: sewing pins, ribbon, buttons, iron-on patches or fabric paint for decoration
6 Simple Step-By-Step Guidelines on How to Make Neck Pillow for Travel
Step 1: Create and Cut Your Pattern Template
The first step in your project involves visualizing the final product and creating a physical template that will guide your cutting. You can easily find a printable pattern online, or you can trace an existing travel pillow if you have one handy.
If you are drawing it freehand, sketch a large U-shape on your paper, ensuring the arms are thick enough to provide substantial support—usually about 4 to 5 inches wide. Once you are happy with the shape, cut it out of the paper. This paper template is crucial because it ensures symmetry; you can fold your paper in half to make sure the left and right sides of the U are identical before you cut the final shape.

After you have your paper template ready, lay your chosen fabric flat on a large table or the floor. If your fabric has a specific pattern or grain, make sure it is aligned the way you want it to appear on the finished pillow. Fold your fabric in half so you can cut two pieces at once—this guarantees they will match perfectly.
Pin the paper template securely to the fabric to prevent it from shifting while you work. Using your sharp fabric scissors, cut around the template, leaving an extra half-inch of space around the edge for your seam allowance. This extra space is vital; if you cut exactly on the line of the finished size, your pillow will end up smaller than intended once sewn.
Step 2: Pin the Fabric Pieces Together
Once your fabric pieces are cut, you need to prepare them for sewing by pinning them together correctly. Place the two fabric pieces on top of each other with the “right” sides facing inward. The right side is the printed or soft side that you want to be on the outside of the finished pillow. It might look counterintuitive to have the nice sides hidden, but you will turn the pillow inside out later.
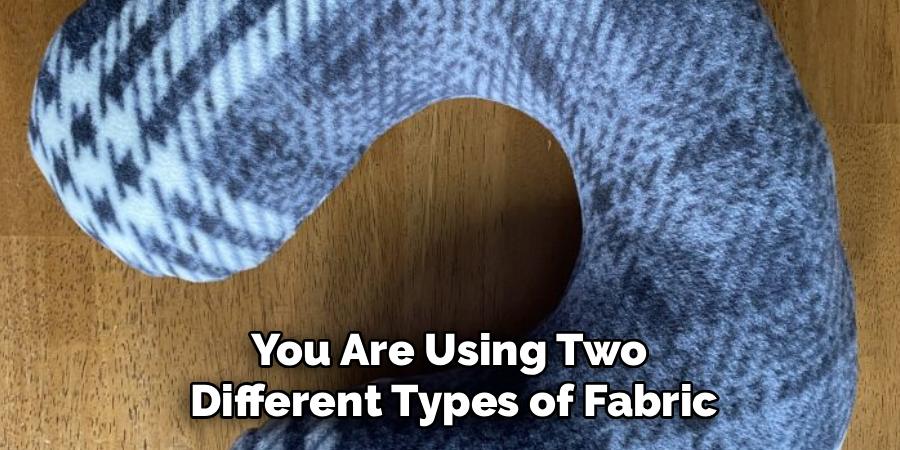
Make sure all the edges align perfectly, smoothing out any wrinkles or folds that might have occurred during the cutting process. If you are using two different types of fabric—like fleece on one side and cotton on the other—ensure they are feeding evenly.
Start pinning the edges together, placing pins perpendicular to the edge of the fabric every 2 to 3 inches. This frequency keeps the fabric from slipping while you sew, which is especially important if you are using slippery materials like satin or stretchy ones like jersey knit.
Pay special attention to the curves of the U-shape, as this is where fabric tends to bunch up. While pinning, decide where you want to leave your opening for stuffing. A 3-inch gap along the straightest part of the pillow (usually the top curve or one of the straight ends) is ideal. Mark this gap with double pins or a fabric marker so you don’t accidentally sew it shut.
Step 3: Sew the Seams of the Pillow
Now it is time to permanently join your fabric pieces using your sewing machine or a needle and thread. Set your machine to a straight stitch with a medium length (usually 2.5mm). Backstitch at the beginning of your seam (right at the mark where your stuffing gap starts) to lock the thread in place.
Sew slowly around the perimeter of the pillow, maintaining a consistent seam allowance—usually about 1/2 inch or 5/8 inch from the raw edge. Guiding the fabric gently around the tight curves is the key here; do not pull the fabric, but rather let the machine feed it through while you steer.
If you encounter sharp corners or tight turns, stop the machine with the needle down in the fabric, lift the presser foot, pivot the fabric slightly, lower the foot, and continue sewing. This ensures a sharp, clean line.
Continue all the way around the shape until you reach the other side of your marked stuffing gap. Remember to backstitch again at the end to secure the seam. If you are hand sewing, use a tight backstitch for the entire perimeter to ensure the seams are strong enough to hold the pressure of the stuffing without bursting open during your travels.

Step 4: Clip Curves and Turn Inside Out
After sewing, you cannot simply turn the pillow right side out immediately, or the seams will pucker and look unprofessional. Because the pillow is full of curves, the fabric inside the seam allowance needs room to spread out when flipped.
To fix this, take your scissors and cut small notches—little triangles—out of the seam allowance along all the curved edges. Be extremely careful not to cut through the thread you just sewed. These notches remove bulk and allow the curved seam to lie flat and smooth once the pillow is turned right side out.
Once you have clipped the curves, reach through the opening you left unsewn and grab the far end of the pillow. Gently pull the fabric through the hole, turning the entire thing right side out. It might take a bit of wiggling to get the whole thing through, especially if you used thick fabric like fleece.
Once it is turned, use a chopstick, a knitting needle, or a specialized turning tool to push out the seams from the inside. Run the tool along the entire interior seam to ensure the curves are fully extended and the shape is defined. If the fabric looks wrinkled, give it a quick press with an iron to flatten the seams before the next step.
Step 5: Stuff the Pillow to Desired Firmness
This step is where you determine the comfort level of your travel accessory. Take your polyester fiberfill or chosen stuffing material and begin filling the pillow through the open gap. Start by pushing small handfuls of stuffing all the way to the ends of the U-shape first. It is crucial to pack the ends firmly because these areas often get under-stuffed and become floppy. Use your chopstick or turning tool again to help push the stuffing into the deep corners if your fingers can’t reach.
Continue adding stuffing gradually, working your way from the ends toward the center opening. Periodically stop to massage the pillow and distribute the filling evenly, breaking up any lumps that form. Test the firmness by squeezing it or placing it around your neck.
Some people prefer a very firm pillow that holds the head upright rigorously, while others prefer a softer, squishier feel. Remember that polyester filling tends to compress slightly over time, so stuffing it slightly firmer than you think you need is often a good strategy. If you are using memory foam shreds, allow them a moment to expand inside the casing to see the true volume before adding more.
Step 6: Close the Opening and Finish
The final step is to seal the pillow so the stuffing stays inside. The opening you used for stuffing now has raw edges that need to be folded inward. Fold the seam allowance inside the pillow, matching the fold line of the already-sewn seams. Pin the opening shut, ensuring the folded edges are flush with each other. For the cleanest, most professional look, use a “ladder stitch” (also known as a slip stitch) to close this gap by hand.
To do a ladder stitch, thread a needle and knot the end. Insert the needle from the inside of the fold to hide the knot. Then, take a small stitch on one side of the fold, cross directly over, and take a small stitch on the opposite side.
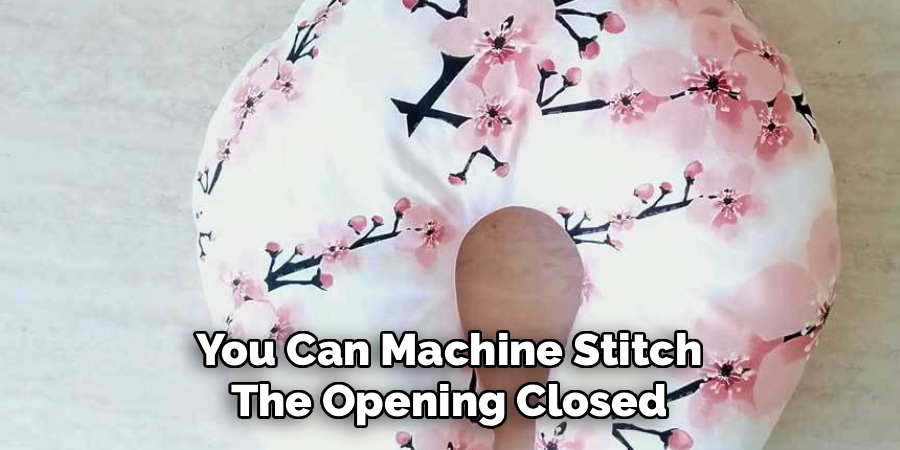
Continue this pattern, which looks like the rungs of a ladder, across the opening. When you pull the thread tight, the stitches will disappear, and the fabric will pull together invisibly. Tie off the thread securely and bury the tail inside the pillow. If you prefer, you can machine stitch the opening closed closer to the edge, though this will leave a visible line of stitching. Once closed, fluff your pillow one last time, and it is ready for your next adventure.
Following these steps on how to make neck pillow for travel will result in a comfortable and personalized pillow that is perfect for all your travels. However, this is just one method of making a neck pillow. There are many other techniques and designs that you can explore to create the perfect travel companion.
Cost Comparison: DIY vs Store-Bought
One of the most compelling reasons to make your own travel pillow is the potential for significant savings, though this depends heavily on what materials you already own. A high-quality store-bought travel pillow, particularly those with memory foam or branded ergonomic designs, typically ranges from $25 to $60. Even basic airport pillows—which are often poorly made and uncomfortable—rarely sell for less than $20. These prices reflect not just the materials, but the branding, shipping, and retail markup.
In contrast, a DIY project can cost as little as $5 to $10. If you are a crafter who already has scrap fabric and a bag of Poly-fil, your cost is essentially zero. Even if you have to buy everything new, half a yard of fleece costs around $4-$6, and a bag of stuffing (which can make multiple pillows) is around $5-$8.
Therefore, for the price of one mid-range store-bought pillow, you could likely manufacture three or four custom DIY pillows for the whole family. The value proposition becomes even better when you consider durability; a homemade pillow with double-stitched seams and high-quality fabric will often outlast the cheap, mass-produced versions found in airport terminals.
Common Mistakes to Avoid
A frequent error is overstuffing the pillow to the point where it becomes hard as a rock, pushing your head forward uncomfortably instead of cradling it. Conversely, choosing a fabric that is too scratchy or doesn’t breathe can make you sweat and itch during a long flight.
Forgetting to clip the curved seams before turning it right side out will result in a lumpy, misshapen pillow that looks poorly made.
Frequently Asked Questions
Q1: How Do I Choose The Right Fabric?
When selecting fabric for a travel pillow, prioritize comfort and breathability above all else. Since the fabric will be resting against your face and neck for hours, you want to avoid materials that are scratchy or induce sweating, such as coarse wool or cheap synthetics. Cotton is breathable and cool, making it great for warm climates, while fleece or Minky fabric provides warmth and coziness, which is perfect for chilly airplanes. If you want the best of both worlds, use cotton on one side and fleece on the other.
Q2: Is It Better To Use Foam Or Fiberfill?
The choice between foam and fiberfill depends entirely on your personal preference for support versus portability. Fiberfill (Poly-fil) creates a traditional, fluffy pillow feel that is lightweight and easy to compress into a carry-on bag, but it may flatten out during very long trips. Memory foam shreds, on the other hand, provide superior, dense support that molds to your neck and holds its shape indefinitely. However, memory foam is significantly heavier and harder to pack down small, so it might be bulky to carry around the airport.
Q3: How Do I Wash My DIY Neck Pillow?
The best way to ensure your pillow remains hygienic is to make the outer cover removable by installing a zipper or velcro closure during the sewing process. If you made a simple pillow that is sewn shut, you can usually wash the entire thing in the washing machine on a gentle cycle with cold water. However, to prevent the stuffing from clumping, you should tumble dry it on low heat with a couple of tennis balls or dryer balls. Always check the care instructions for the specific fabric and stuffing you used before washing.
Conclusion
Creating your own neck pillow for travel is a rewarding project that combines creativity with practicality. Not only do you save money compared to buying expensive airport gear, but you also gain a travel accessory that is custom-fitted to your comfort needs. By following these simple steps on how to make neck pillow for travel and avoiding common pitfalls, you can craft a durable, cozy pillow that transforms your travel experience.
Whether you are embarking on a cross-country road trip or an international flight, your handmade pillow will ensure you arrive at your destination refreshed and ready to explore.