

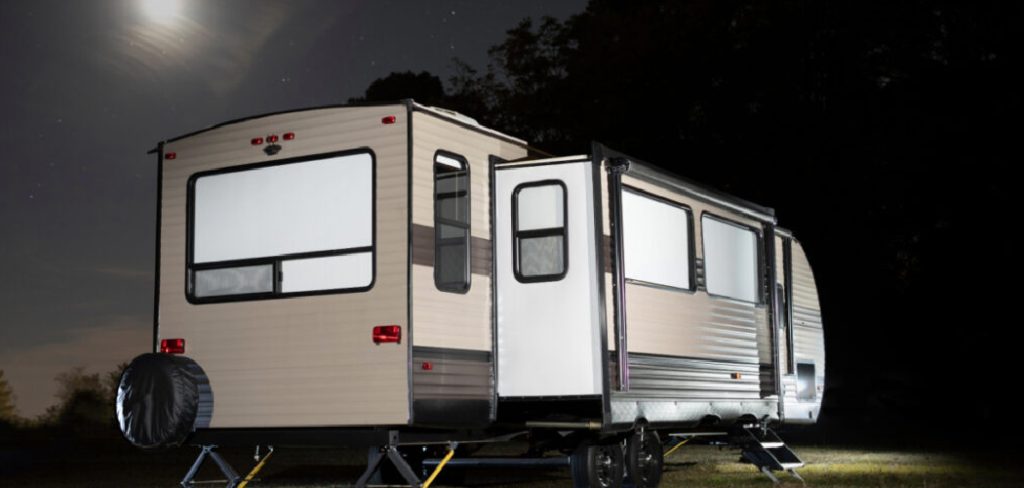
A well-insulated travel trailer can be the difference between a comfortable adventure and a trip cut short by extreme temperatures. Whether you’re battling the summer heat or the winter chill, proper insulation enhances your comfort, reduces energy consumption, and protects your RV’s plumbing. It transforms your trailer into a true four-season home on wheels, ready for any climate.
This guide on how to insulate travel trailer will walk you through everything you need to know about this essential upgrade. From understanding the basics and choosing the right materials to a detailed step-by-step process, you will learn how to effectively insulate your travel trailer. We’ll also cover costs, common mistakes, and answer frequently asked questions to ensure your project is a success.
Understand How Travel Trailer Insulation Works
Insulation in a travel trailer functions by slowing the transfer of heat. In the summer, it prevents the sun’s heat from penetrating your walls and roof, keeping the interior cool. In the winter, it traps the warmth generated by your heater inside, preventing it from escaping. This process is measured by an R-value; the higher the R-value, the better the material’s ability to resist heat flow.
Most travel trailers come with some factory-installed insulation, but it’s often insufficient for extreme weather. The thin walls, large windows, and uninsulated floors, ceilings, and slide-outs are common weak points. By adding or upgrading insulation, you create a more complete thermal barrier. This not only maintains a stable internal temperature but also reduces the strain on your HVAC system, leading to significant energy savings and a quieter, more comfortable living space.
Assess Your Travel Trailer Before Insulating
Before you purchase any materials, a thorough assessment of your travel trailer is crucial. This step helps you identify the areas with the most significant heat loss and gain, allowing you to prioritize your efforts and budget effectively. Start by performing a visual inspection of the entire trailer, both inside and out. Look for obvious gaps, cracks, or seals that have deteriorated around windows, doors, vents, and slide-outs.
Next, consider a more technical approach. On a cold day, you can use your hand to feel for drafts around these same areas. An even better method is to use an infrared thermometer to detect cold spots on the walls, ceiling, and floor. These spots indicate poor or non-existent insulation. Pay special attention to storage bays, wheel wells, and the underbelly, as these are frequently overlooked and major sources of temperature fluctuation. Documenting these problem areas will help you create a targeted plan of attack.
Best Insulation Materials for Travel Trailers
Choosing the right insulation is key to a successful project. Several materials work well for travel trailers, each with its own set of advantages and disadvantages.
Foam Board Insulation (Rigid Foam):
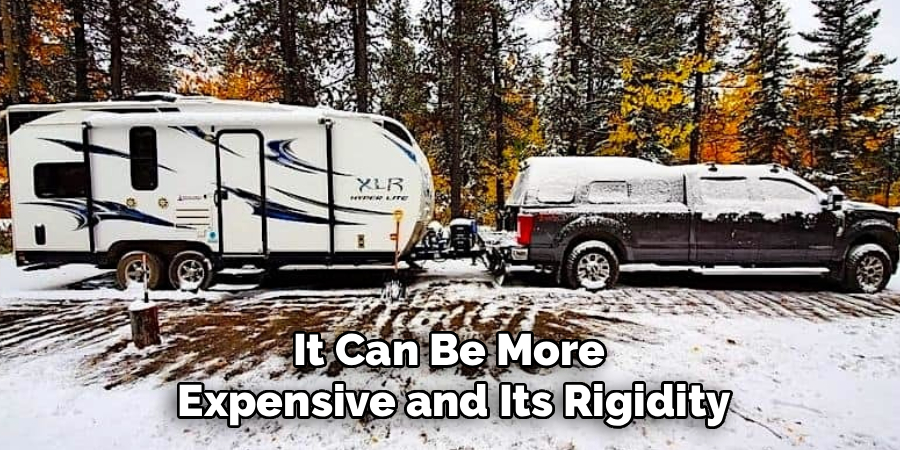
Available in large, rigid sheets, foam board is one of the most popular choices. Materials like extruded polystyrene (XPS) and polyisocyanurate (Polyiso) offer high R-values per inch, are moisture-resistant, and are easy to cut and fit into wall cavities, floors, and ceilings. While highly effective, it can be more expensive and its rigidity makes it unsuitable for curved surfaces.
Spray Foam Insulation:
This type of insulation creates a superior air and moisture barrier because it expands to fill every crack and crevice. It comes in two forms: professional-grade two-part kits and smaller, DIY-friendly aerosol cans. Spray foam has an excellent R-value and adds structural rigidity. However, it can be messy to apply, more costly, and permanent, making future repairs to the area difficult.
Reflective Insulation (Radiant Barrier):
Often resembling bubble wrap with a foil exterior, reflective insulation works by reflecting radiant heat. It is lightweight, thin, and easy to install, making it an excellent choice for windows, vents, and supplementing other insulation types. Its effectiveness depends on having an air gap next to it, and it has a lower R-value compared to foam when dealing with conductive heat transfer.
Fiberglass Batt Insulation:
This is the traditional pink or yellow insulation found in many homes. It is inexpensive and readily available. However, it is not ideal for travel trailers. Fiberglass can absorb moisture, leading to mold and mildew, and it can settle over time, reducing its effectiveness. If you use it, ensure it’s paired with a robust vapor barrier.
7 Simple Step-by-step Guidelines on How to Insulate Travel Trailer
Step 1: Prepare Your Trailer
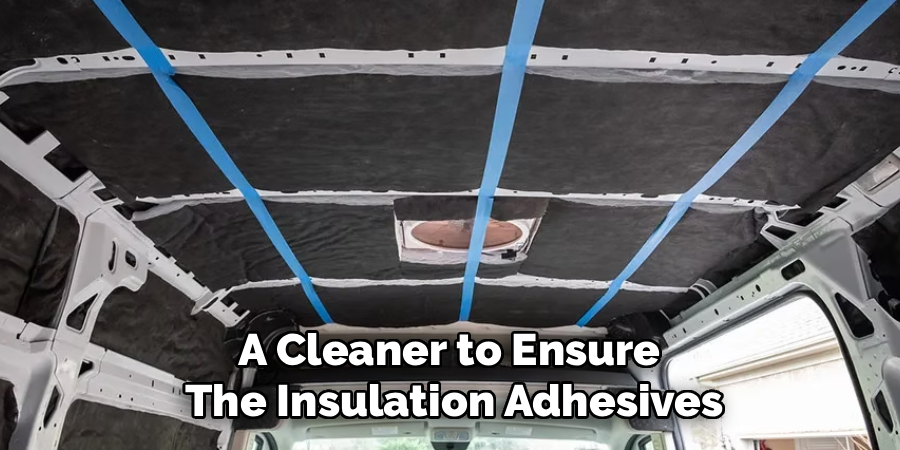
The first step is to thoroughly prepare your workspace. Begin by completely emptying the travel trailer of all personal belongings, furniture, and removable fixtures to give yourself maximum room to work. This is also a good opportunity to deep-clean the interior. Use a vacuum to remove all dust and debris from floors, walls, and crevices. Then, wipe down all surfaces with a cleaner to ensure the insulation adhesives will bond properly.
Once the interior is clean, you need to gain access to the areas you will be insulating. This often involves carefully removing interior wall panels, ceiling panels, and flooring. Keep all screws, fasteners, and trim pieces organized and labeled in bags or containers. This meticulous organization will make the reassembly process much smoother and prevent you from losing small but essential parts. Take photos before and during disassembly to serve as a reference.
Step 2: Seal All Air Leaks
Before you install any new insulation, you must address any and all air leaks. These gaps are your primary enemy, as they allow conditioned air to escape and outside air to enter, rendering your insulation efforts less effective. Conduct a detailed inspection of your trailer’s exterior and interior. Pay close attention to the seams around windows, doors, roof vents, plumbing inlets, and any other openings. Look for cracked or missing sealant.
Use a high-quality, weatherproof silicone caulk or sealant designed for RVs to fill every gap you find. For larger holes or cracks, you might need to use expanding foam sealant. Don’t forget to check the weather stripping around doors and storage compartment hatches. If it’s compressed, cracked, or peeling, replace it. Creating an airtight seal is a non-negotiable step for achieving maximum thermal efficiency and preventing moisture intrusion.
Step 3: Insulate the Walls and Ceiling
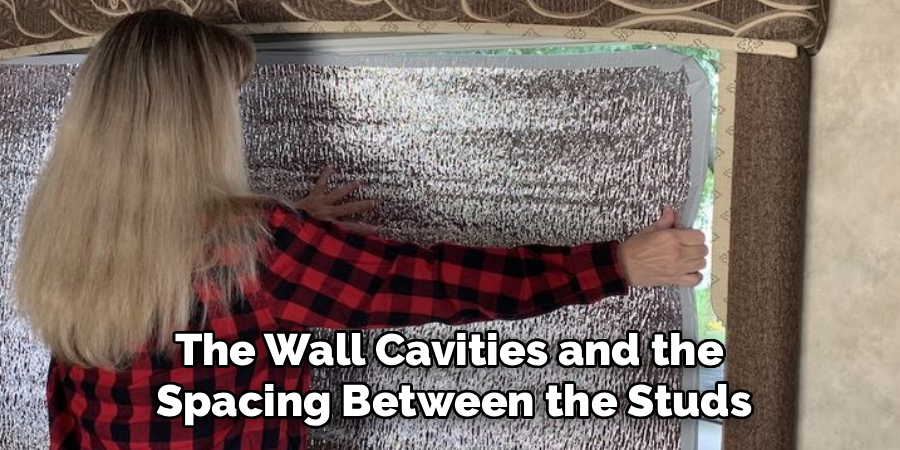
The walls and ceiling represent the largest surface areas of your trailer, making them a top priority for insulation. With the interior panels removed, you will see the trailer’s frame and any existing insulation. Remove any old, damaged, or inadequate insulation. Measure the depth of the wall cavities and the spacing between the studs. This will help you choose the appropriate thickness for your foam board insulation.
Carefully cut the rigid foam board to fit snugly between the frame studs. The goal is to have a tight fit without compressing the foam, which can reduce its R-value. Use a utility knife for straight cuts and a serrated blade for more complex shapes. Secure the foam boards in place using a construction adhesive that is rated for foam. To maximize your results, use foil tape to seal the seams between each foam board panel, creating a continuous thermal and vapor barrier.
Step 4: Insulate the Floor and Underbelly
The floor is a major source of heat loss, especially during colder months. To insulate it, you’ll first need to access the underbelly of your trailer. This may involve removing a corrugated plastic covering, often called the coroplast. Once removed, you will have access to the floor joists and the underside of the subfloor. This is an excellent time to inspect your holding tanks, plumbing, and wiring for any potential issues.
Similar to the walls, you can cut rigid foam board panels to fit between the floor joists. Alternatively, two-part spray foam insulation is an excellent choice for the underbelly, as it fills every void and creates a monolithic barrier against both air and moisture. After installing the insulation, ensure all plumbing lines and tanks are properly protected before reattaching the coroplast underbelly cover. Sealing this cover securely is vital to protect your new insulation from road debris and moisture.
Step 5: Insulate Windows and Vents
Windows and vents are significant points of thermal transfer. While you can’t fill them with foam, you can effectively insulate them. The best solution is to create custom-fit reflective insulation panels. Purchase a roll of reflective insulation and cut pieces that are slightly larger than the interior dimensions of your window frames and roof vents. You can create a fabric border for a more finished look and to create a tighter seal.
These panels can be held in place with friction, Velcro tabs, or suction cups, allowing you to easily install and remove them as needed. When in place, they will reflect solar heat out during the summer and retain interior heat during the winter. For a more permanent solution, you can replace single-pane windows with double-pane versions, though this is a much more expensive upgrade. Don’t forget about the skylight over the shower, as it’s another key area for heat gain or loss.
Step 6: Insulate Doors and Slide-Outs
Your entry door and any slide-out sections require special attention. The door is often hollow or poorly insulated. You can add a layer of rigid foam board to the interior surface of the door, covering it with a thin panel of wood or vinyl for a finished look. More importantly, ensure the weather stripping around the door frame is in excellent condition and creates a tight seal when the door is closed.
Slide-outs are notoriously difficult to insulate well. The gaps around the slide-out when it is extended are a major source of drafts. Add extra layers of bulb seals and wiper seals around the slide-out flange to improve the seal. When the slide is retracted, you can insulate the interior walls just as you did the main walls. For the floor of the slide-out, adding a layer of rigid foam insulation on top of the subfloor (underneath your flooring) can make a big difference.
Step 7: Reassemble and Finish
With all the insulation installed and seals checked, the final step is to put your travel trailer back together. Work carefully in the reverse order of how you disassembled it. Start by re-installing the wall and ceiling panels. Be gentle to avoid damaging the panels or the new insulation behind them. Secure them with the original fasteners you saved and organized.
Next, reinstall any trim pieces, cabinets, and fixtures you removed. Lay your flooring back down, and return your furniture to the interior. As you reassemble, perform a final check on all seals and fittings. The care you took in labeling and organizing parts will pay off immensely at this stage. Once everything is back in place, your travel trailer is now fully equipped to provide a more comfortable and energy-efficient experience on all your future journeys.
Following these steps on how to insulate travel trailer for winter will not only keep you warm and cozy during the colder months, but it will also save you money on heating costs. Additionally, properly insulating your travel trailer can also help reduce noise from outside sources, making for a more peaceful and comfortable living space.
Cost Breakdown
Properly insulating your travel trailer for winter involves some initial costs, but the long-term savings and comfort make it a worthwhile investment. Here’s a general breakdown of potential expenses:
- Insulation Materials (foam boards, spray foam, reflective insulation): $50 – $200, depending on the size of your trailer and the type of insulation used.
- Weatherstripping and Caulking (to seal windows, doors, and gaps): $20 – $50.
- Thermal Curtains or Window Covers: $30 – $100, based on the quality and number of windows in your trailer.
- Heated Rugs or Floor Insulation (optional but recommended for extreme cold): $40 – $150.
- Labor Costs (if hiring professionals for installation): $100 – $500, depending on the scale of the job.
The total cost can range from $150 to $500 or more if you choose to DIY, and higher if professional help is required. By insulating your trailer, you’ll not only enjoy reduced heating costs throughout the winter but also extend the lifespan of your travel trailer by protecting it from potential cold-weather damage.
Common Mistakes to Avoid
- Forgetting to create a complete air seal before adding insulation material.
- Using insulation materials like fiberglass that are prone to moisture absorption and mold.
- Compressing insulation material, which drastically reduces its R-value and effectiveness.
- Neglecting to insulate smaller but critical areas like vents, windows, and storage bays.
- Blocking weep holes or ventilation points, which can lead to moisture buildup.
Frequently Asked Questions
Q1: What Is The Best R-Value For A Travel Trailer?
A1: There is no single “best” R-value, as it depends on the climate you travel in. However, a good target is to aim for at least R-5 for walls, R-10 for the floor, and R-15 for the ceiling. Higher R-values are always better for four-season camping. It’s often more practical to focus on achieving the highest R-value possible within the limited space of your trailer’s walls and ceiling.
Q2: Can I Insulate My Travel Trailer Without Removing The Walls?
A2: Yes, you can improve insulation without a full tear-down, though it will be less effective. You can focus on sealing all air leaks with caulk, adding reflective insulation panels to all windows and vents, and adding insulated skirting around the trailer’s base. You can also add thick rugs and thermal curtains to help, but for the best results, removing interior panels is necessary to properly insulate the wall cavities.
Q3: How Does Insulation Help With Soundproofing?
A3: Insulation can significantly help with soundproofing your travel trailer. Materials like foam board and spray foam are dense and fill cavities, which helps to deaden vibrations and block airborne sound waves. This reduces noise from outside the trailer, such as from neighboring campsites, traffic, or weather. The result is a much quieter and more peaceful interior environment.
Conclusion
Insulating your travel trailer is a project that pays dividends in comfort, cost savings, and the overall enjoyment of your RV lifestyle. By properly sealing air leaks, choosing the right materials, and methodically insulating the floors, walls, ceiling, and windows, you can create a sanctuary that remains comfortable no matter the weather outside.
While it requires an investment of time and money, the ability to extend your camping season and reduce your energy bills makes it one of the most valuable upgrades you can perform. Now that you have the knowledge, you can confidently take on this project and prepare your trailer for countless comfortable adventures ahead. Thanks for reading this guide on how to insulate travel trailer.
About
Larry Mays is a distinguished figure in the world of global exploration, with a decade of expertise creating innovative and sustainable travel itineraries. His professional focus lies in merging authentic local experiences with modern travel logistics, fostering journeys that are both culturally immersive and environmentally conscious. As the author of Travelorix, Larry delves into the art and science of modern voyaging, inspiring solo travelers and industry professionals alike.
Education
RMIT University (Melbourne, Australia) Associate Degree in Design (International Tourism)
-
Focus on sustainable tourism, industry-driven logistics, and practical expedition planning.
-
Gained hands-on experience with digital mapping tools and travel management software.
Nottingham Trent University (United Kingdom) Bachelor’s in Global Travel and Hospitality Design (Honors)
-
Specialized in experience design with a focus on blending cultural heritage with modern hospitality techniques.
-
Participated in industry projects, working with major hospitality brands and eco-resorts to gain real-world insights.
Publications and Impact
In Travelorix, Larry shares his insights on travel planning processes, cultural ethics, and strategies for efficient, low-impact exploration. His writing bridges the gap between local artisan knowledge and modern traveler needs, making it a must-read for both budding backpackers and seasoned travel consultants.